
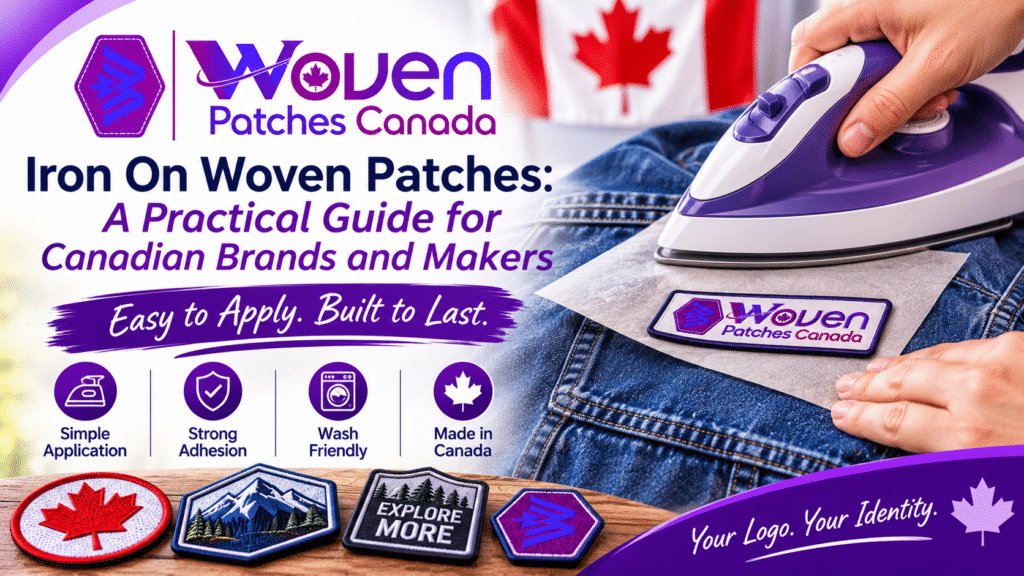

Iron-on backing is the most accessible way to attach a patch. It requires no sewing machine, no specialist equipment and no particular skill. You place the patch, apply heat and pressure, and the adhesive bonds to the fabric. For small Canadian businesses, crafters, sports clubs and event organisers who need branded or personalised items without a full production setup, that simplicity is genuinely useful. But iron-on is not a universal solution, and the failures are predictable: corners that lift, edges that peel, patches that survive a week and then give up. If you are sourcing patches for a project, Woven Patches Canada supplies iron-on woven patches with a heat-activated backing designed for compatible fabrics. This guide covers what iron-on backing actually is, when it is the right choice, how to apply it correctly, and where the common mistakes happen.
What Iron-On Backing Actually Is
An iron-on patch has a layer of heat-activated adhesive on its reverse side. When you apply heat and pressure, the adhesive softens, flows into the fibres of the garment, and then cools and sets. The bond is mechanical and thermal rather than stitched. It is strong enough for many applications, but it is not permanent in the way that stitching is.
The backing works best on fabrics that can tolerate heat and have a surface the adhesive can grip. Cotton, denim, canvas and heavy poly-cotton blends are generally suitable. Heat-sensitive synthetics, delicate fabrics, waterproof coatings and stretchy knits are poor candidates, because the heat can damage the fabric or the adhesive cannot form a stable bond.
The distinction matters because iron-on is often marketed as a one-size-fits-all solution. It is not. It is a specific attachment method with a specific set of compatible materials and a specific set of failure modes.
When Iron-On Is the Right Choice
Iron-on backing makes sense in several practical scenarios.
Low-wear personalisation. A patch on a tote bag, a display jacket, a sample garment or a costume piece that will not be washed frequently is a good candidate. The adhesive does not need to survive industrial laundering, so the convenience outweighs the durability trade-off.
Small-batch and prototype runs. A maker testing a design or a small business producing a short run of branded items can use iron-on to avoid the cost and lead time of sewing. If the design changes, the patch can be removed with heat and replaced, within limits.
Event and promotional items. A patch applied to a giveaway cap or a promotional bag at an event is unlikely to face heavy wash cycles. Iron-on is fast, cheap and adequate for the use case.
Craft and DIY projects. Home crafters who do not own a sewing machine can achieve a clean, professional-looking result with a household iron and a pressing cloth.
Iron-on is not the right choice for uniforms that will be laundered weekly, workwear that faces abrasion and industrial washing, or any garment where the patch must survive years of use. For those applications, a sewn attachment is the more reliable specification.
How to Apply Iron-On Woven Patches Correctly
Application is straightforward, but the details determine whether the patch stays on.
Prepare the garment and the patch
Wash and dry the garment before applying the patch. Any sizing, starch or moisture on the fabric can interfere with the adhesive. Preheat the iron to the temperature recommended for the fabric, and disable the steam function. Moisture creates steam pockets that prevent a clean bond.
Place a thin pressing cloth over the patch to protect the threads and the adhesive from direct heat.
Apply heat and pressure
Press firmly for the recommended time, usually in the range of 15 to 30 seconds depending on the adhesive and the fabric. Do not slide the iron; hold it in place and apply steady pressure. Work across the patch in sections if it is large, ensuring every part receives heat.
Turn the garment inside out and press the reverse side as well. This helps the adhesive flow through the fabric and improves the bond.
Cool and check
Allow the patch to cool completely before moving or wearing the garment. The adhesive sets as it cools. Once cool, check the edges. If any corner lifts, reapply heat and pressure to that area.
Reinforce if the garment will be washed
For any garment that will see regular washing, a perimeter of stitching around an iron-on patch is a sensible reinforcement. It converts a thermal bond into a mechanical one and dramatically extends the patch’s life. This is particularly relevant for Canadian garments that face winter washing and drying cycles.
Where Iron-On Patches Fail
The failure modes are consistent and avoidable.
Wrong fabric. Applying an iron-on patch to a heat-sensitive synthetic, a waterproof shell or a stretchy knit is the most common cause of failure. The adhesive cannot bond, or the heat damages the garment. Always test on an inconspicuous area first.
Insufficient heat or pressure. A quick press with a lukewarm iron does not activate the adhesive properly. The patch may appear attached but will lift at the first wash. Follow the supplier’s temperature and time recommendations.
Steam. Steam is the enemy of heat-activated adhesive. It creates a barrier between the adhesive and the fabric. Use a dry iron and a pressing cloth.
Skipping the cool-down. Moving the garment before the adhesive has set weakens the bond. Let it cool fully.
No reinforcement for high-wear items. An iron-on patch on a frequently washed garment without perimeter stitching is a patch that will eventually lift. If durability matters, sew it down or choose a sew-on backing from the start.
Iron-On vs Sew-On vs Velcro: A Quick Comparison
The three common backings serve different purposes, and the right choice depends on the garment and the use case.
Iron-on is the fastest and most accessible. It suits low-wear items, small runs, events and craft projects. It is not the most durable option under frequent washing.
Sew-on is the most durable. It is the right choice for uniforms, workwear and any garment that will be laundered regularly or subjected to heavy use. It requires stitching, either by hand or machine, but the result is a mechanical bond that does not depend on adhesive.
Velcro is the most flexible. It allows the patch to be removed and swapped, which suits shared uniforms, rotating roles and merchandise where the design may change. It requires a loop surface on the garment and looks more utilitarian.
For a small business or maker, the practical rule is to match the backing to the garment’s wash regime. If it will be washed often, sew it. If it is a low-wear item, iron-on is adequate. If the patch needs to move, choose Velcro.
Designing an Iron-On Patch That Works
A woven patch holds fine detail better than embroidery, but the design still needs to suit the medium.
Keep text legible. Small lettering works on woven patches, but there is a limit. Test the artwork at final size and confirm it reads from a normal viewing distance.
Prioritise contrast. The name or logo should stand out clearly against the patch background. Low-contrast combinations look subtle on screen and become illegible on fabric.
Choose a border that suits the application. A merrowed border is durable and classic. A laser-cut or heat-sealed edge gives a cleaner outline for complex shapes and fine detail.
Proof before production. A physical or high-fidelity digital proof catches colour shifts, legibility problems and border issues before they are multiplied across a run.
A Practical Checklist for Canadian Buyers
Before ordering iron-on woven patches, confirm the following:
-
The garment fabric is compatible. Cotton, denim and canvas are suitable; heat-sensitive synthetics and waterproof coatings are not.
-
The wash routine is realistic. If the item will be washed frequently, plan to reinforce with stitching or choose a sew-on backing.
-
The artwork has been tested at final size. Small text and fine lines are legible at the actual patch dimensions.
-
A proof has been approved. Colour, border and placement are confirmed.
-
The application method is understood. Dry iron, pressing cloth, steady pressure, full cool-down.
-
Minimum quantities are confirmed. Small runs are accessible, but minimums vary by supplier.
FAQs
How long does an iron-on woven patch last?
It depends on the fabric and the wash routine. On a low-wear item, it can last for years. On a garment that is washed frequently, the adhesive may weaken over time, and perimeter stitching is recommended for durability.
Can I iron a patch onto a waterproof jacket?
Generally, no. Heat can damage waterproof coatings, and the adhesive cannot form a reliable bond on many technical fabrics. Check the garment’s care label and test on an inconspicuous area first.
Can I remove an iron-on patch?
It can often be loosened with heat and careful lifting, but removal may leave adhesive residue or marks on the fabric. Iron-on patches are intended to be permanent for most practical purposes.
Do outbound links on GuestPost.com.pk pass SEO value?
The platform does not publish a link attribute policy. The backlink is included as a contextual link, but the author should confirm whether links are followed or nofollow before submission.
Can I order iron-on woven patches in small quantities in Canada?
Yes. Many Canadian suppliers accommodate small runs, though minimums vary. Confirm minimum order quantities and request a proof before committing.
Conclusion
Iron-on woven patches are a practical, accessible tool for branding and personalisation. They require no sewing equipment, they work on a wide range of fabrics, and they are well suited to small runs, events and craft projects. The key is to understand the limits. Iron-on is not a permanent attachment method, and it is not suitable for every fabric or every wash routine.
Choose the right garment, apply heat and pressure correctly, allow a full cool-down, and reinforce with stitching if the item will be washed often. Match the backing to the job, not to the convenience of the application. Done that way, an iron-on woven patch is a clean, professional-looking detail that serves its purpose well — and stays exactly where you put it.